
Control head mount
Finding a home for the control head in a cab with no equipment console. Four locations measured up, one custom-print brief, and the overhead console mount that won.
Put the control head where every button and the slide are in easy reach from the driver’s seat, without blocking the mirror or the view, without drilling the truck if it can be avoided, and with the cable routed clear of the curtain airbags.
Constraints
Section titled “Constraints”- Cab: 2017 F-150 Lariat SuperCrew with bucket seats, the factory flow-through center console and a floor shifter. There is no equipment console.
- Roof: panoramic roof, so nothing mounts to the roof itself. The overhead console holds the sunroof switch, map lights and the security sensor grille.
- Airbags: the side curtain airbags run along the roof rails above the doors.
- Heat: whatever holds the head lives in a hot Florida cab, so printed parts need a heat-resistant material such as ASA or PETG.
How the plan changed
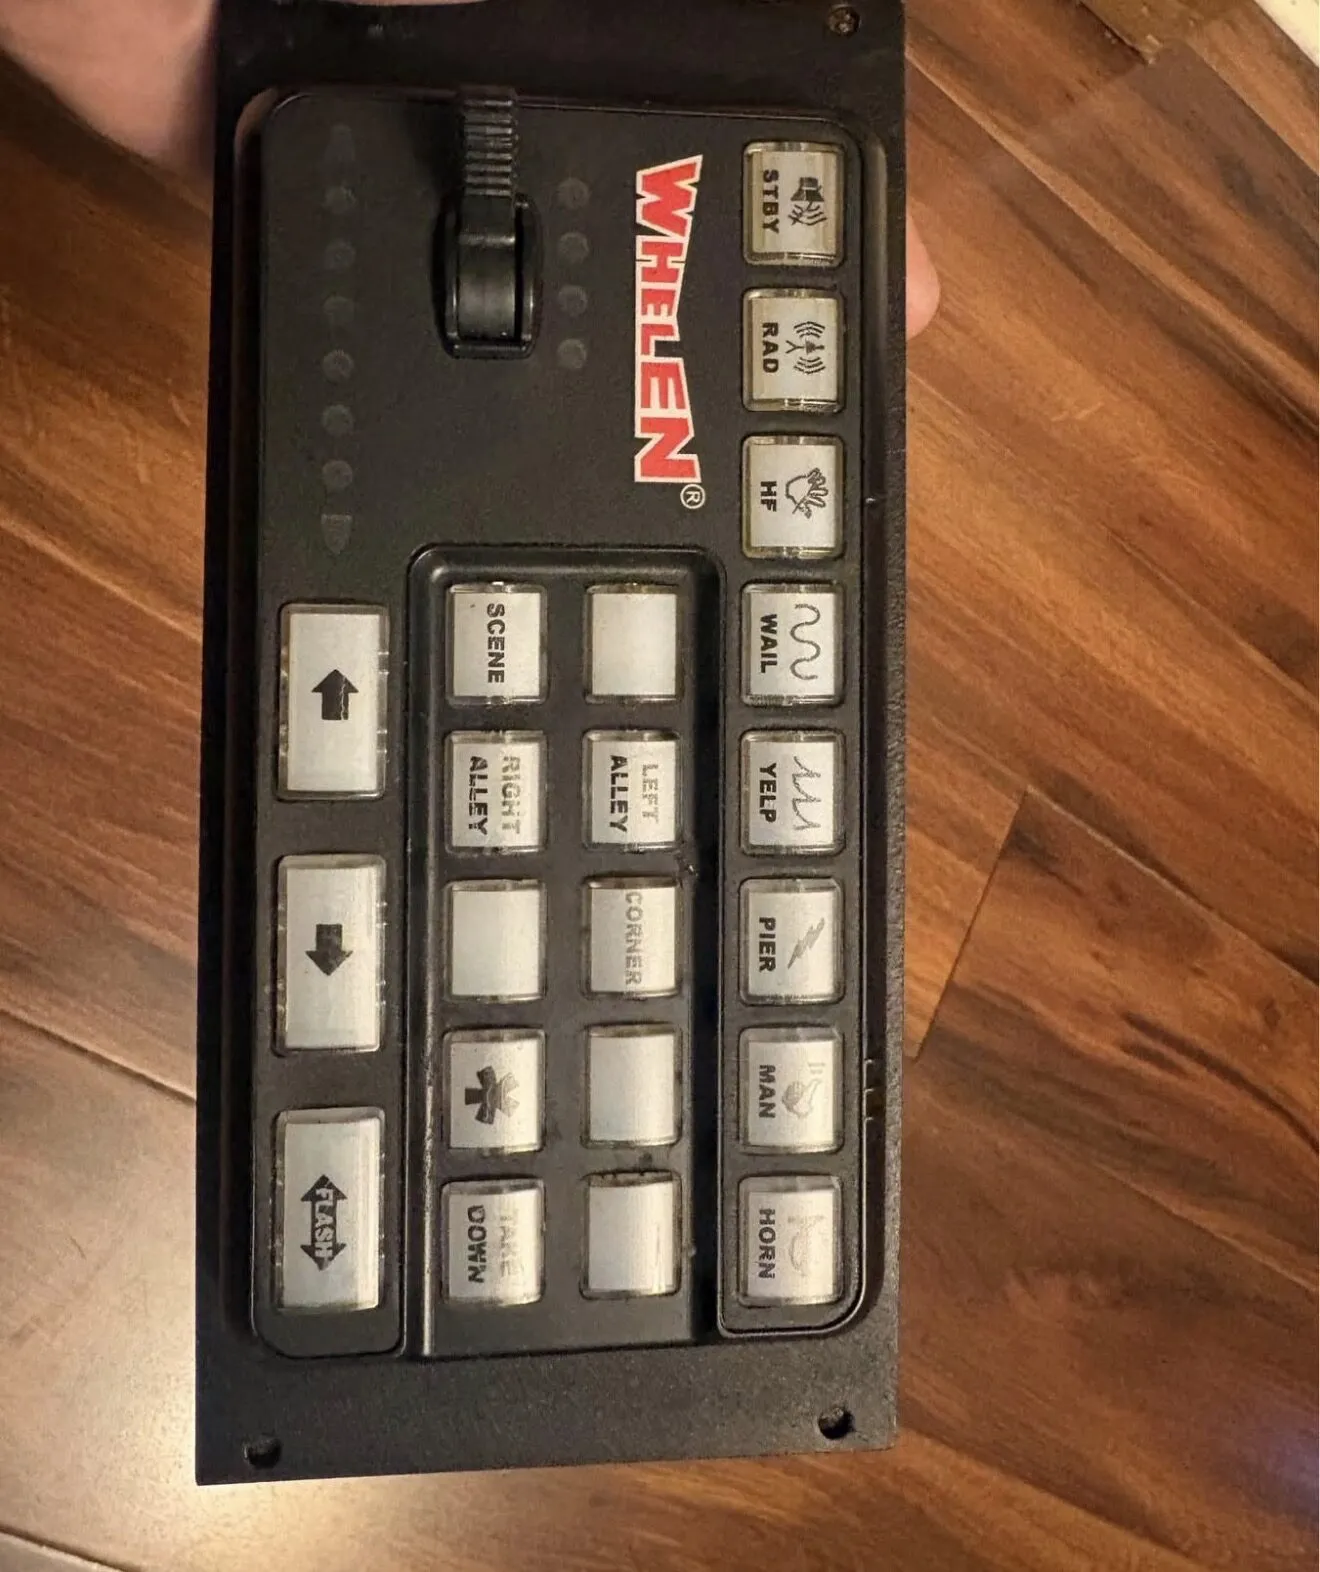
Section titled “How the plan changed”The first plan, on 2 October 2026, was for a Whelen CenCom Sapphire head (model CCSRNT3A, 3-position slide, 18 push-buttons). I wrote a design brief for a custom 3D-printed mount and sent it to a 3D print shop, with four candidate locations ranked in order of preference. The build then switched to a complete used Whelen CanTrol WC set with a 21-button WeCan head (photographed 16 October). An off-the-shelf overhead console mount already existed for that head family, so the Ben3DBuild mount was bought on 21 October.
The four locations considered
Section titled “The four locations considered”All four measurements are my estimates from the console’s proportions and owner measurements on forums. Ford doesn’t publish any of them.
| # | Location | Estimated space | Key constraint |
|---|---|---|---|
| 1 | Overhead, near the windshield, above the mirror | Not measured, limited | Must not block the mirror |
| 2 | Overhead console, near the sunroof controls | Not measured, limited | Sunroof switch, map lights, sensor grille |
| 3 | Center console armrest bin | About 9 to 10” W x 13 to 15” D x 11 to 12” H | The lid must still close, and cables need a path it won’t pinch |
| 4 | Front console tray, ahead of the shifter | About 6 to 7” W x 4 to 5” D x 2 to 3” H | Clear the USB ports and the shifter’s travel |
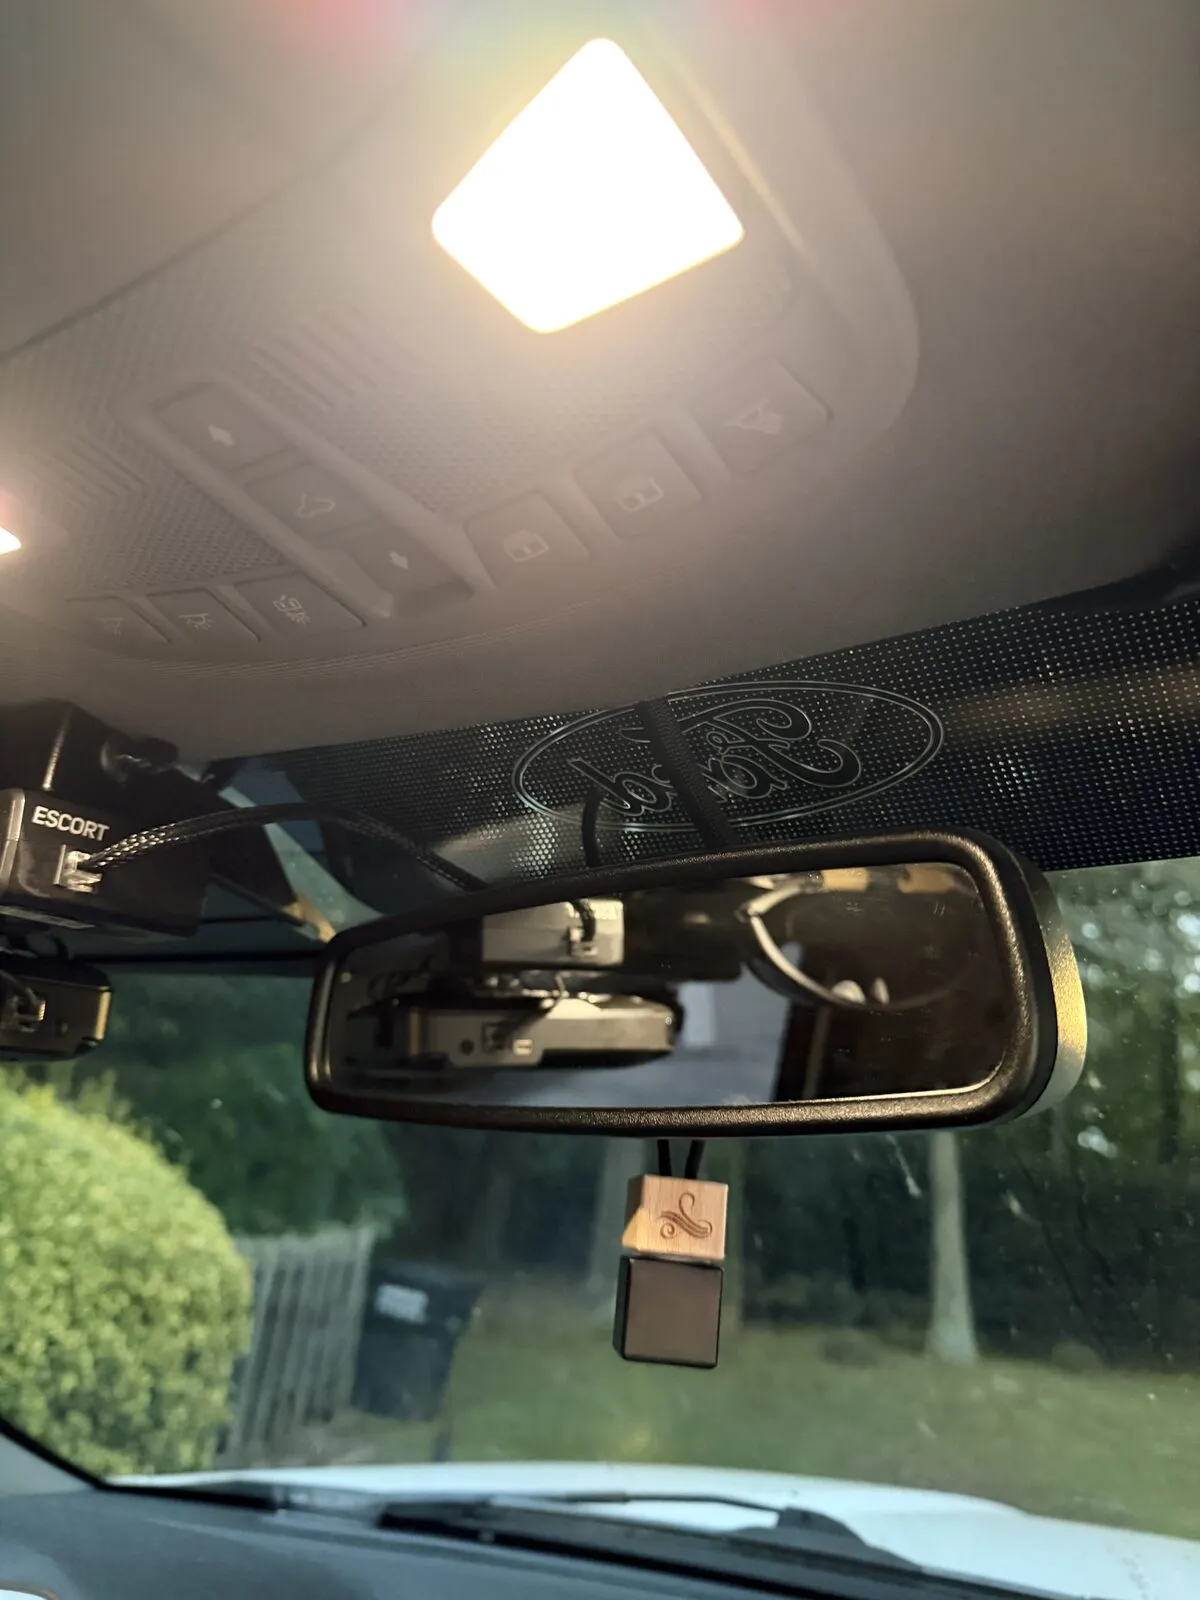
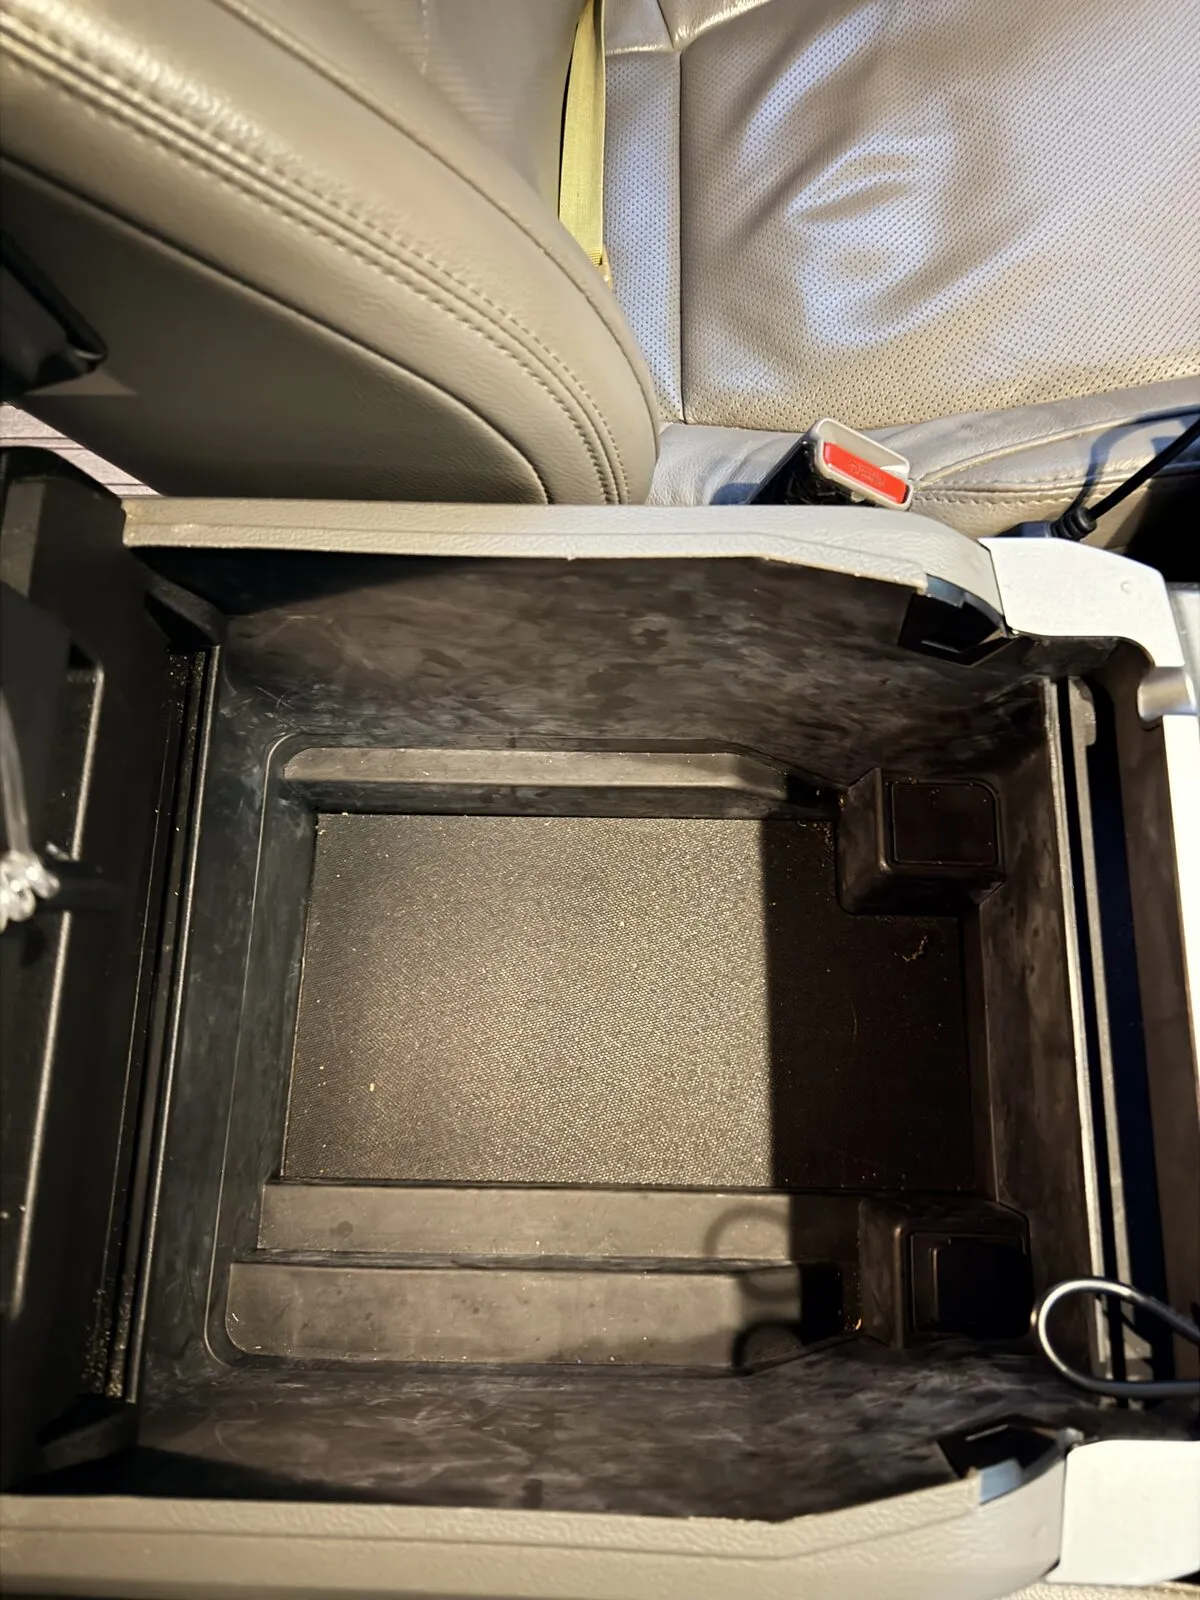
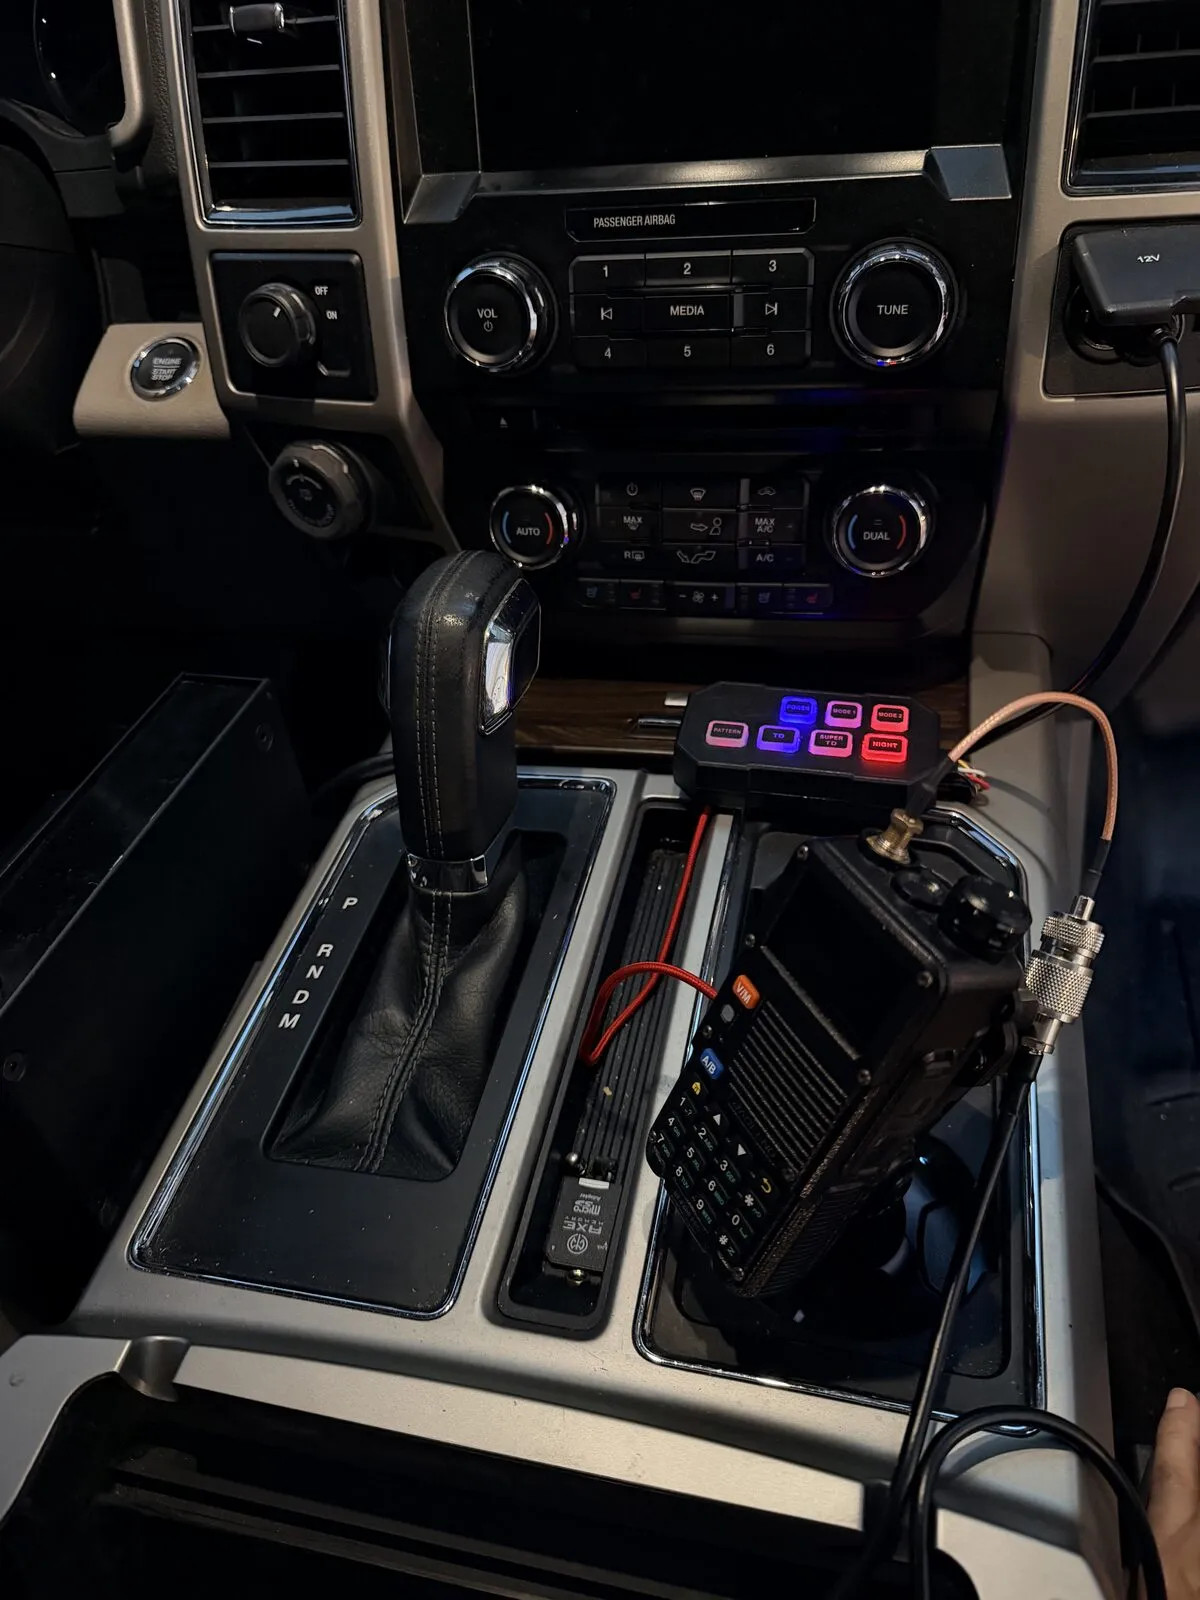
Notes from the brief that still matter:
- Armrest bin: an owner measured the armrest at 12” (305 mm) wide seam to seam, flaring to about 13” (330 mm) where the lid meets the body. At about 6-11/16” wide, a head would clear the opening either way. Depth below the rim is the dimension that decides it.
- Front tray: an owner measured the console at about 13” (330 mm) wide where it meets the center stack, and the tray is only the center part of that. Width and height are both close to a head’s size, so only a tape measure decides it. 2015 to 2019 trucks also have a known issue where this tray’s sliding door binds, covered by a Ford service bulletin.
- Pairing idea: in locations 3 or 4, the mount could also hold the SpeedTech Lights Grand Control Box on its right side, with a small cut to feed its wires. That stays a future idea if the box isn’t taken out of the circuit by the five-modes plan.
The mount that was chosen
Section titled “The mount that was chosen”Ben3DBuild overhead mount
- Product
- Ben3DBuild Ford Overhead Mount for Whelen CCTL 6/7 (F-150 2015 to 2020)
- Made
- 3D printed by Ben3DBuild for the 2015 to 2020 F-150 overhead console
- Bought
- $120.00 shipped, 21 October 2026
- Lead time
- 2 to 3 weeks, so expected around 4 to 11 November
- Location
- Overhead console, in the sunglasses holder opening, between the map lights and the windshield. The sunglasses holder is deleted
- How it holds the head
- From the seller photos: an angled cradle flush with the console face, head tilted down toward the cab, a hex screw on each side (inferred)
Source: not yet linked (unverified)
The head it holds
- Head
- Whelen WeCan 21-button head with slide switch (CCTL7-type), PN 01-026G550-00C
- Body
- 6-7/8" W x 3-9/16" H x 1-3/8" D (Whelen drawing)
- Depth with connector
- 2-1/16" (Whelen drawing)
- Cable
- Yellow RJ-45 head cable out the back
- Mic
- Plugs into the module, not the head, so it never goes through the console
Source: not yet linked (unverified)
Install steps
Section titled “Install steps”- Disconnect the battery. Pull the overhead console down from the headliner with a trim tool and unplug its connectors (map lights, sunroof switch, sensors). No cutting.
- Remove the sunglasses holder from the console.
- Fit the mount in the opening as Ben3DBuild instructs, then fit the head in the cradle and tighten the side screws.
- Plug the yellow head cable into the back of the head before the console goes back up. Leave a small service loop inside the console so the head can come out.
- Route the cable above the headliner to the driver-side B-pillar, down behind the pillar trim to the floor, then under the sill trim to the CanTrol module under the driver-side rear seat (inferred route).
- Plug the console connectors back in and clip it up.
- Check that the sunroof switch, map lights and mirror all work, the head doesn’t block the mirror or the view, and every button and the slide are in easy reach.
Testing and verification
Section titled “Testing and verification”| Item | Status |
|---|---|
| Mount delivered | Waiting, ordered 21 October |
| Head fits the cradle | Not yet |
| Cable run measured | Not yet. Estimate is 10 to 12 ft |
| Mirror, sunroof switch, map lights still work | Not yet |
| Reach check from the driver’s seat | Not yet |
Lessons learned
Section titled “Lessons learned”- Changing the controller changed the mount. Check for an existing mount made for the exact head family before commissioning a custom print. The custom brief still paid off, because its photos and notes made the overhead console an easy call.
- Write measurements down as estimates until a tape measure confirms them. Ford doesn’t publish interior bin or console dimensions.
Open items
Section titled “Open items”- Measure the head cable run and confirm the cable in the set reaches. If not, buy a longer Whelen head cable.
- Confirm how the mount fastens once Ben3DBuild’s instructions arrive.
- Decide whether the existing switch panel in the front tray stays once the CanTrol is live.
- A printed mount for the Grand Control Box, only if it stays in the circuit.
Changelog
Section titled “Changelog”Control head mount page published from the 2 October design brief and the project document, with my own cab photos (location data stripped).
Rollback: Revert the commit that added this page.